Showing posts with label a new life. Show all posts

Monday, August 29, 2011

Cupcake Stand #2

You may remember a few months ago I scored some plates at Target for waaay cheap.  I finally got around to my little project.

I bought some candlesticks at Dollar Tree...


Used some gorilla glue, placed the candle stick in the middle of the plate (on the back, of course) and placed a heavy book on top while it dried.  I left it alone for about 24 hours before starting the next layer.


Here's my final project!


And I decided not to glue the top layer on, just to keep things a little more convertible.  And I figured this way would make it a little easier to store! ;-)


Sorry this pic is icky-blurry!
I spent $8.44 on the plates, $3.00 in the candle holders and we already had the gorilla glue.  So in total I only spent $11.44 on this project.  Pretty good, in my opinion!

And it went perfect with my pink lemonade cupcakes!  If you're interested in my first cupcake stand, you can see it here.


Linking to:


Thursday, August 25, 2011

A New Doorway

I have loved the idea of chalkboard paint since I was a kid.  But since most homes in the Southwest have textured walls it never seemed like such a great idea.  Plus the color option weren't so great.  Well fast forward 15 years: still living in a house with textured walls, but the color options have improved greatly (thanks to Rust-oleum) and we have a door that needed some love and had a smooth surface.


After some convincing, Husband was on board to paint our door that leaves to the garage with chalkboard paint.  And since our Montana likes to scratch at the door when we come through the garage, the door was needing some TLC anyway.


We decided on Rust-oleum in Latte from Home Depot.  I taped around the deadbolt lock and door handle with masking tape, wiped the door down with a little dish soap and warm water.  


The directions recommended rolling the paint on with a foam roller, and I used a short-handled angled paint brush to cut-in.


The door required three thin coats, letting it dry for four hours in between each one.


This was our doggy-proofing device: baby gate plus a chair.  The directions said to let the paint cure for 72 hours...which we did.  At that point you take a piece of chalk and rub it over the entire surface of the door and then erase it.  Now the surface is ready to be a fully functioning chalkboard.


Now I put our schedule for the week on the door (cause Husband has a tendency to forget things).  It took a few tries to figure out the best chalk to use.  I wanted colored chalk initially, thinking it would show up best on the door.  Blue, purple, green and red all looked horrible.  You could only see it if you were right up on the door.  So far yellow, orange and white show up the best.  I'm completely perplexed by the idea, but whatever. 

Oh, I almost forgot to tell you about the added bonus to our little painting project!  Montana no longer scratches at the door when we are in the garage!  I guess humans aren't the only ones who don't like the sound of nails on a chalkboard!  Haha!  Bonus!

Sunday, March 6, 2011

$20 Well Spent

Last week I shared with you our first sale on Craig's List, and now I have something even more exciting to share with you.  Our first purchase from Craig's List.


Isn't it beautiful?!  It was on sale for $20 from a guy about 15 minutes from our house.  Living in Phoenix, that's saying something.  We brought it home and I immediately got working.  First I wiped it down with some bleach water.  Who knows what this guy was like! ;-)

It also looked like there had been stickers in some spots.  I soaked those with water and then gently scraped them off.  Easy squeezy!  After it was dry, I sanded it down.  Husband was nice enough to follow my sanding and wiped everything down again.


My next step was to stain it.  I used the leftover stain from this project.  And then it sat there to dry.  And lucky for me it was colder than it should have been in Phoenix, so what should have dried in about 24 hours took more like 72 hours.

So mid-week I used a super fine sandpaper to sand it down a little in between coats.  Then I started in on the second coat.  Luckily it was still colder than it should have been and I had to wait another 72-ish hours for it to dry.

While I was waiting for the stain to dry, I headed to Hobby Lobby to look for some new knobs for the drawers.  I wish it had been one of those awesome weeks when their knobs are 50% off, but it wasn't and I was too impatient to wait.


These are what I found.  While I was there I got some pretty wrapping paper to line the drawers with.

And after patiently waiting for the second layer to dry I put on the new knobs and lined the drawer with my nemesis, Spray Adhesive.  I was going to put Mod Podge as a protective layer, but it just wrinkled the paper and made it look dumb.

Anyways here's what the dresser replaced.

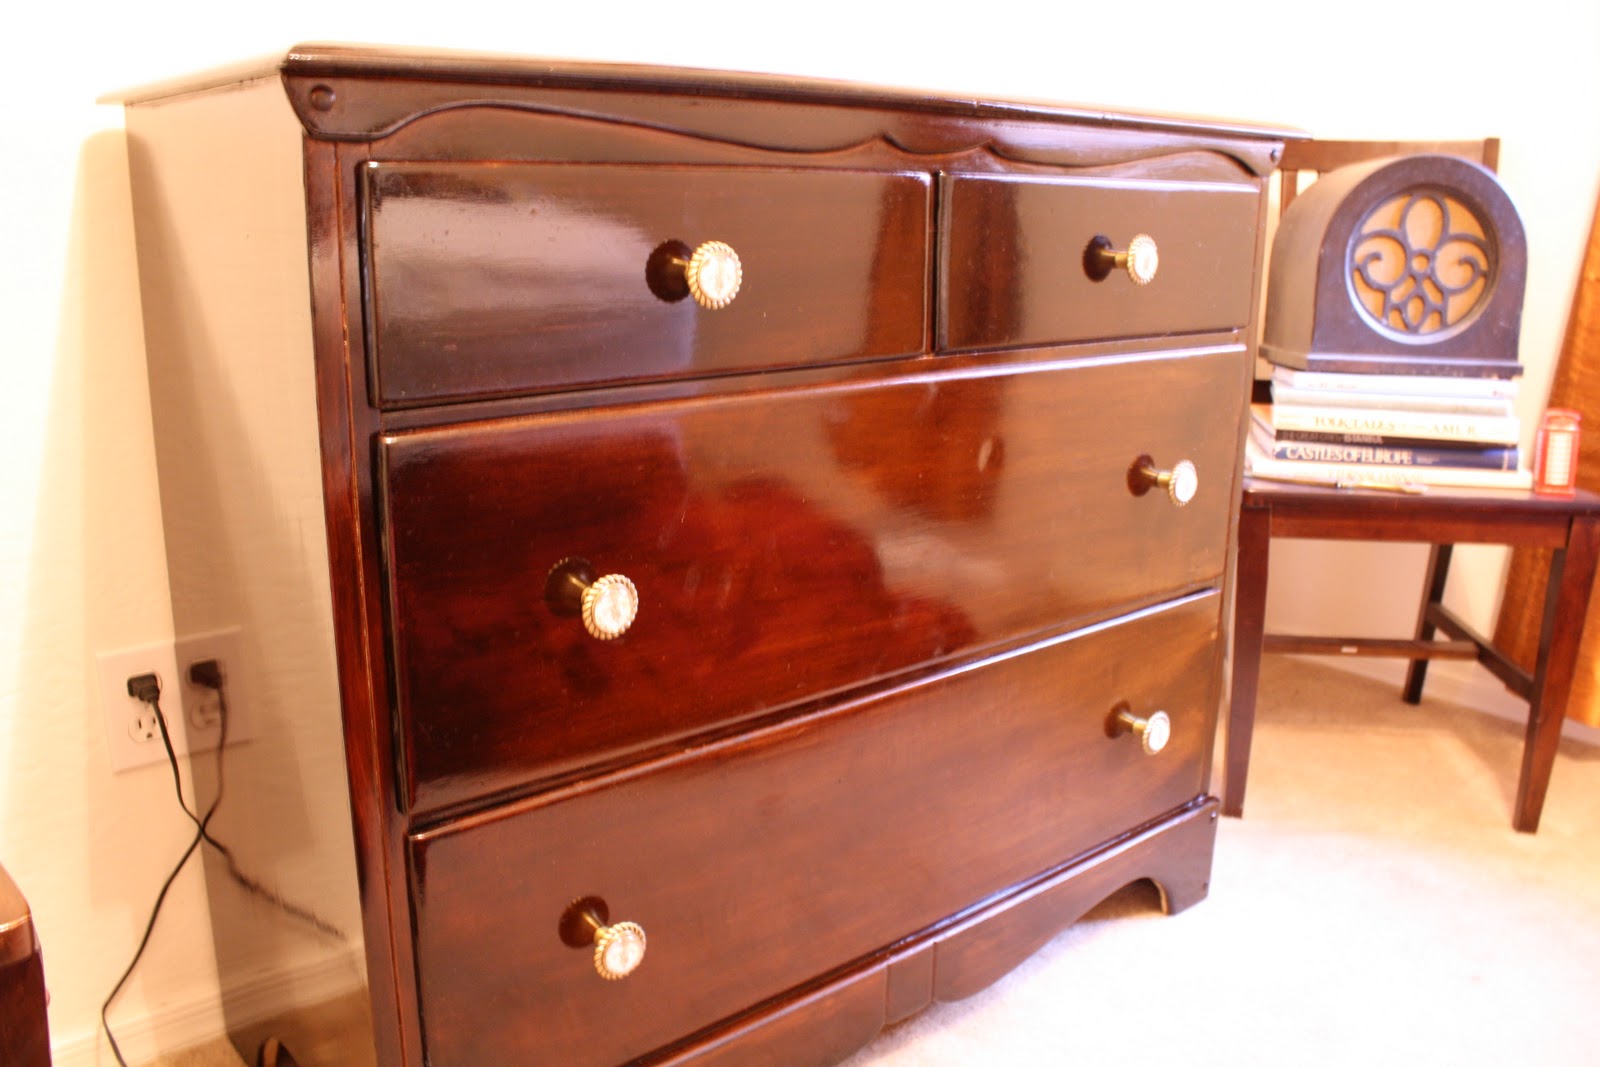
And here is the final product.
I'm so totally in love with this dresser.  Never mind that I spent more on the knobs from Hobby Lobby than I did on the dresser itself, I think it is beautiful.  And since this was my first furniture project and my first purchase from Craig's List, I think it is just awesome!


The Girl Creative

Tuesday, January 4, 2011

Playing Catch Up

Last year Husband and I did a few projects that never got posted, due to my lack of posting.  Oops.  So I'll have a few posts from 2010 scattered with projects from this year.

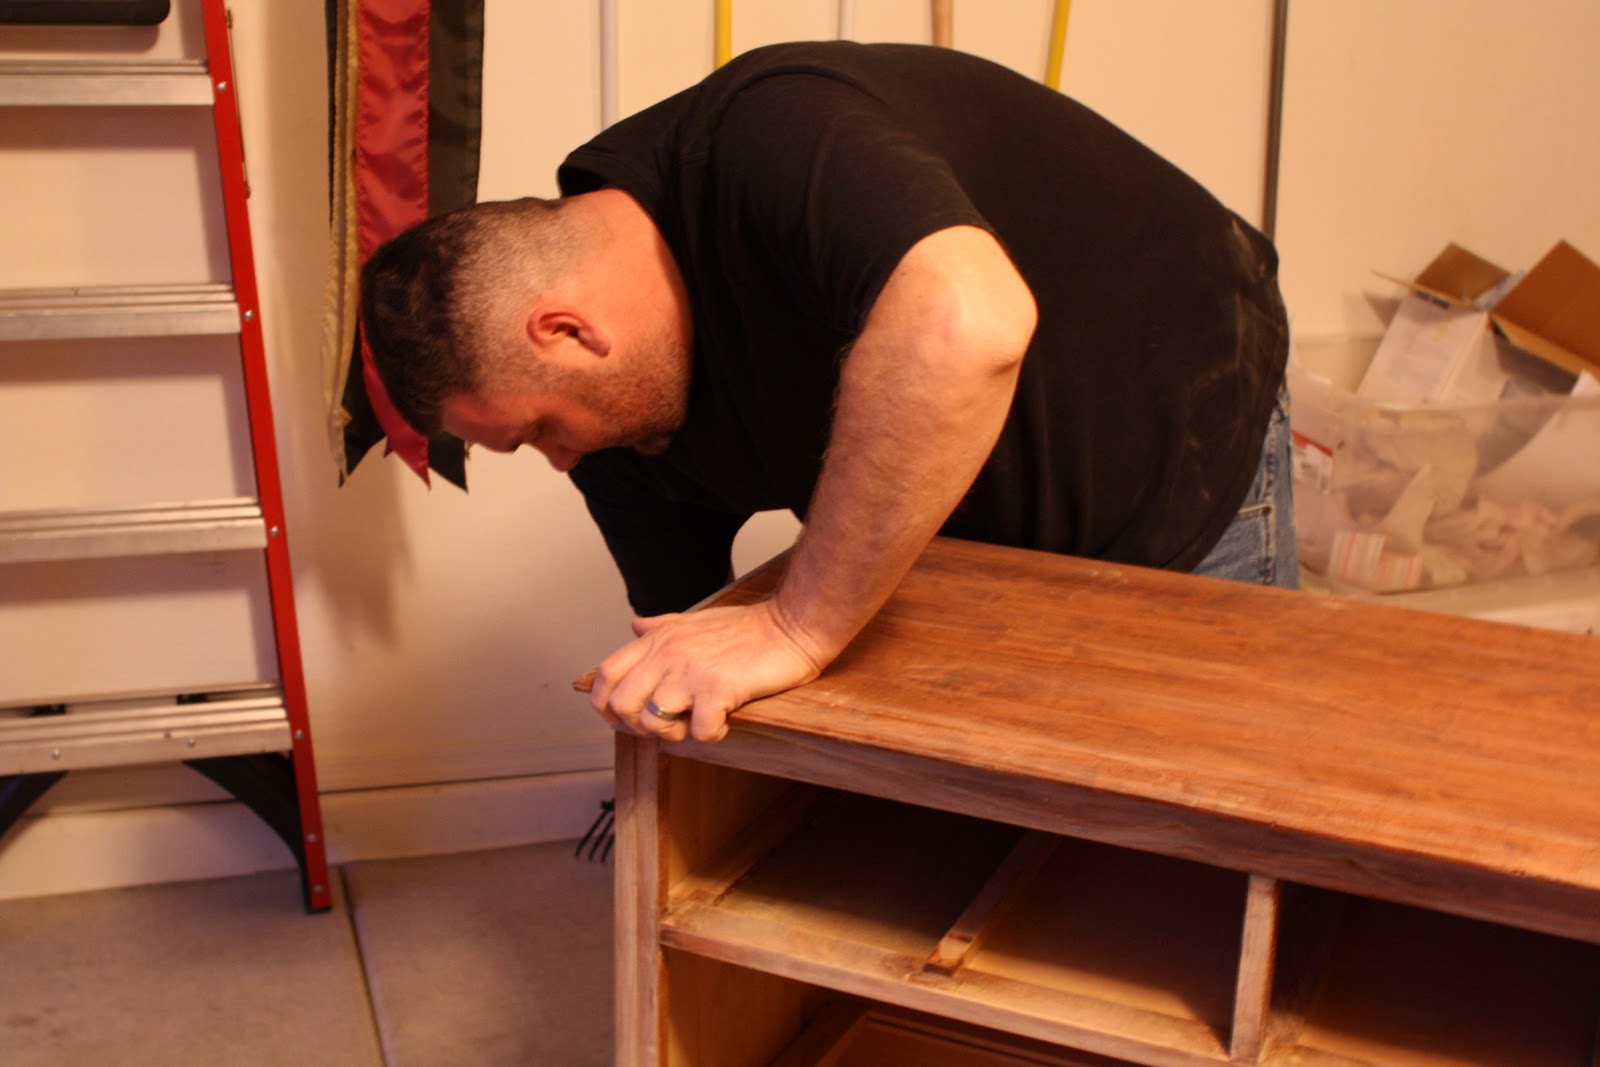
Husband has a chest that once belonged to his late uncle.  He used it as a TV stand.  I had no qualms with the chest itself, but it didn't work as a TV stand.  It was too low and had no where near the storage we need.  So a few months ago, we purchased a new TV stand with lots of storage, and moved the chest into our bedroom.  And we gave the old chest some much needed love.

Here it is.  In desperate need of some TLC.


This is  what it looked like after we took out the drawers, sanded it down, and wiped it down.  We had to fill the holes from the old handles with wood putty.  I'm lacking photos on the process, sorry.


This was the next step: staining.  I didn't follow the directions.  I put the stain on and then we waited till it was dry enough to put another coat on.  It came out super dark, but I think it's beautiful.  Next, using spare wood, foam purchased with a 40% off coupon from Hobby Lobby, and other left over supplies from our headboard (including the fabric) we made a cushion to fit on the top of the chest to turn it into a bench.  We made the cushion the exact same way as our headboard last year.


And here is the final product.  Kinda.  I have drawer handles sitting on a shelf in the garage.  We have yet to put them on. 


The chest now sits in our bedroom in front of our window.  But it may not stay there--I'm trying to convince Husband that we should rearrange our room.  Stay tuned...and maybe soon I'll get those handles on.  (And yes, I know you aren't technically supposed to end a sentence with a preposition, but this is my blog...and Mom, you're not supposed to be grading this!)


http://lh4.ggpht.com/_vswDWGRlsPw/TSKS9gbbaHI/AAAAAAAALpk/VnM4TOwlAkU/s1600-h/beforeAndAfterButton%5B2%5D.gif
 

Sunday, December 19, 2010

Lesson 136- Those Wire Hangers Are Actually Useful

You know those wire hangers that are pretty miserable that the dry cleaners always return your clothes on?  I've finally found a great use for them...


...a Christmas wreath.  I used my very strong (and very handsome) Husband to undo the hanger to was just a straight piece of wire.  Then I started putting gold and silver ornaments on the wire.  I needed about 48 regular sized balls and 36 tiny balls to use as fillers.
Before putting the ornaments on the wire, I used hot glue to glue the tops on to the ornaments.  You don't want them falling off when you're opening or closing the door.
Once all my balls were on the wire molded it into a circular shape and had the Husband wrap the wire around itself at the top to close it.  To make it a little more secure I hot glued the sides of the balls to each other.

I used red ribbon to make a hanger at the top.  I recommend stocking up on ornaments at Hobby Lobby when they are 50% off.  This way you're paying for only half the ornaments you need.

Wednesday, October 27, 2010

Lesson 130- White Washing

Starting Memorial Day weekend, Husband and I started our bathroom update.  Doing a full bathroom renovation was definitely not in the budget.  But I figured we could update the bathroom fairly inexpensively.  And thus started our summer long project of working on the bathroom.  But our summer quickly filled with lots of plans and our bathroom extended beyond Labor Day weekend into fall, but we still had summer temperatures, so I think it should still count.

This was the last major step we did in our bathroom.  It is high impact and I love the way it turned out!!!  Here is the before picture


We removed the doors and the drawers and got to painting.

 My strategy was to go nice and slow, with lots of drying time in between coats.  Husband's strategy was a bit different.  Let's just say one of us had a better strategy, but I won't tell you who cause I don't want to hurt anybody's feelings.  But it wouldn't be my feelings that were hurt...


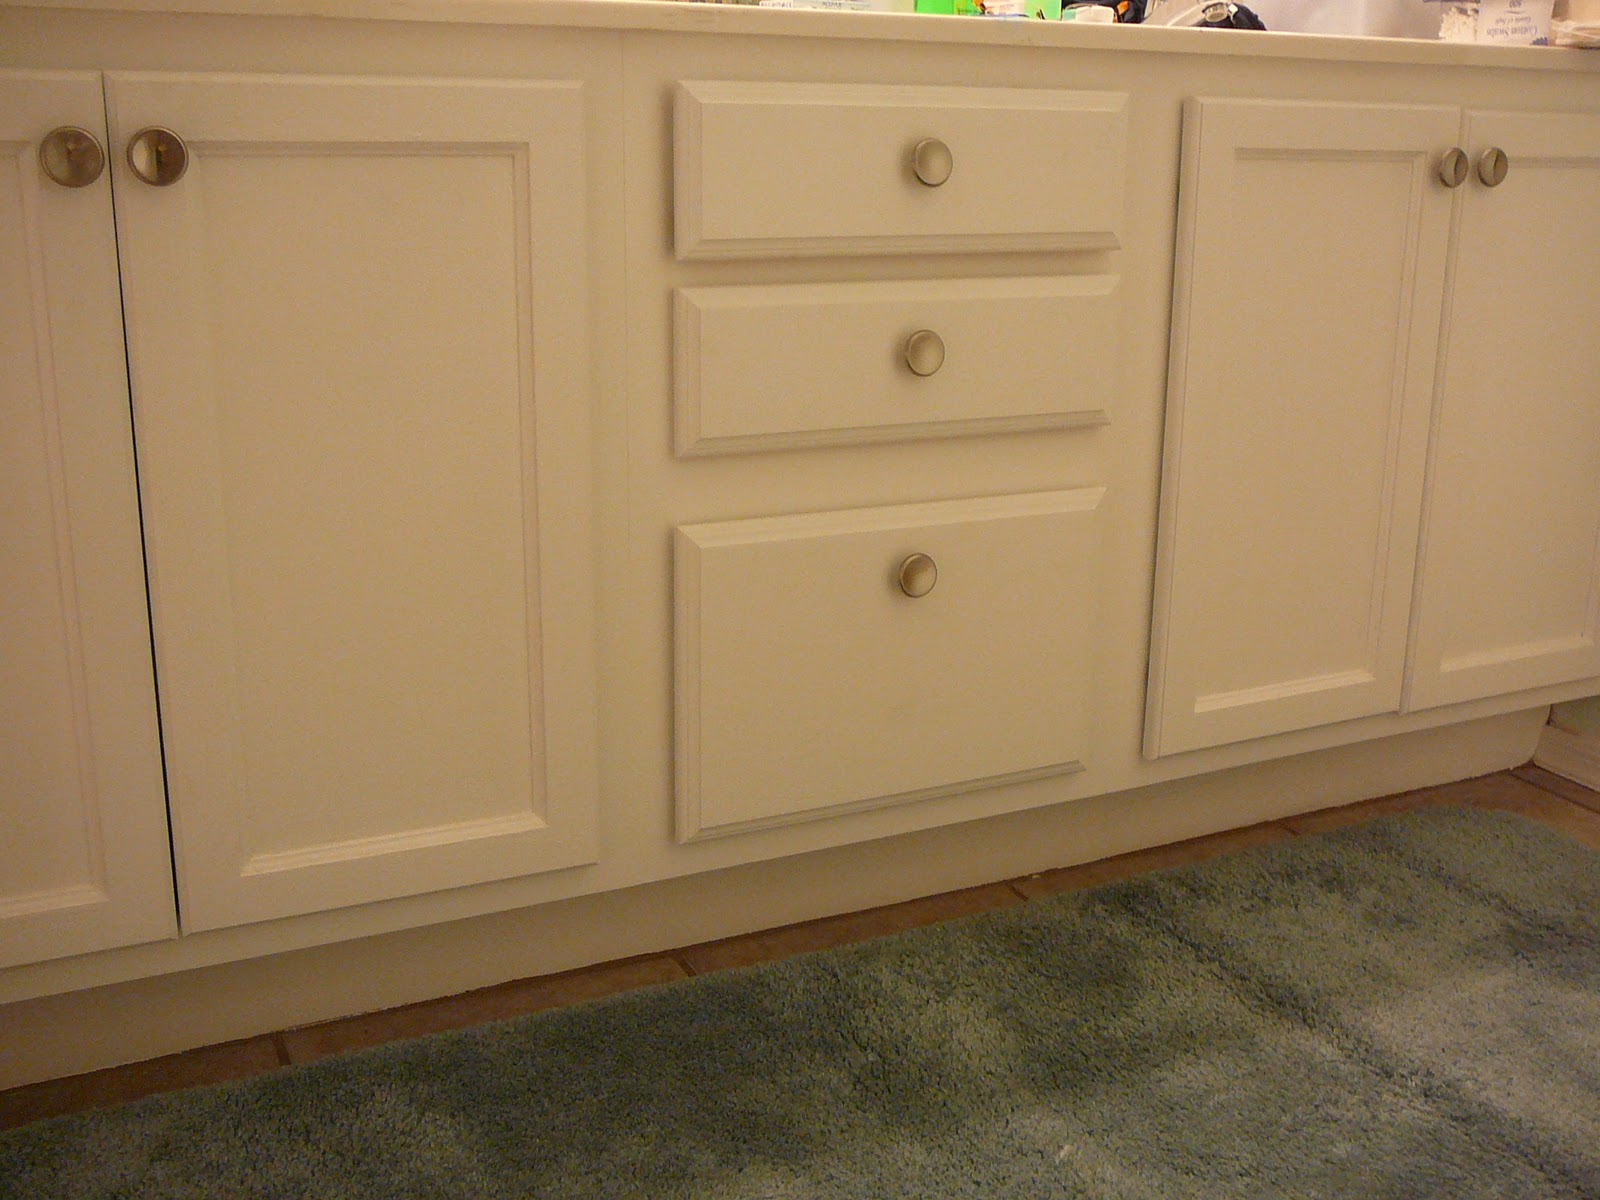
Once I was certain everything was dry we (and by we I mean Husband) put the cabinet doors back on and put the drawers back in.  While things were drying I also went through everything we had been storing in there and threw out a bunch and got the rest nice and organized!  We also attached silver knobs that we bought at Home Depot (I think.  I can never remember because they are literally just across the street from each other.)  And here's how they look now.


I LOVE it!!!  It makes such a difference in our bathroom and I think it's beautiful.

Tuesday, October 19, 2010

Lesson 124- Mini Cake Plate

Last time I went thrifting I found these...


I used the candle for this project and the vases were used for this project.  So all I had left were the little plate and the matching cup.  Immediately when I saw these on the shelf at Goodwill I knew what to do with them. 


I put a little Gorilla Glue around the rim of the cup.  


 I put the plate upside down on the counter then the cup upside down on the plate making sure to have it centered.


Gorilla Glue works best with some weight while it dries, so I put the heaviest book we own on top.  I allowed it to dry over night.


Once I was satisfied that it was completely dry, I took the book off and flipped it over.  My favorite thing about the plate is the edging.  I can add ribbon to it to update it for different seasons.

Ta Da!

Wednesday, October 13, 2010

Lesson 120- Pumpkin in a Jar

I've seen these all over the blogosphere and wanted some for my own.  I used the mason jars I bought thrifting a while back, tissue paper left over from a gift bag, scrapbook paper, and acrylic paint.  Oh, and don't forget the Mod Podge.

 I cut the tissue paper in to strips about an inch thick and glued them to the inside of the jar with Mod Podge.  This wasn't easy!  Don't use mason jars!  Your hands may get stuck inside the jar.  And yes, I'm speaking from experience!

 Then I painted the rim of the jar with green acrylic paint.
Don't worry!  The white Mod Podge will dry clear.

Then I cut out faces from black cardstock.  I looked up Jack-o-Lantern faces from the internet for inspiration.


They're cute, but I think I'll stick to ol' fashioned punkin carvin!!!
Related Posts with Thumbnails